In order to rename your current sketch, you have to hover your mouse over the title and click:

The title will become editable and will be saved with the new text entered.
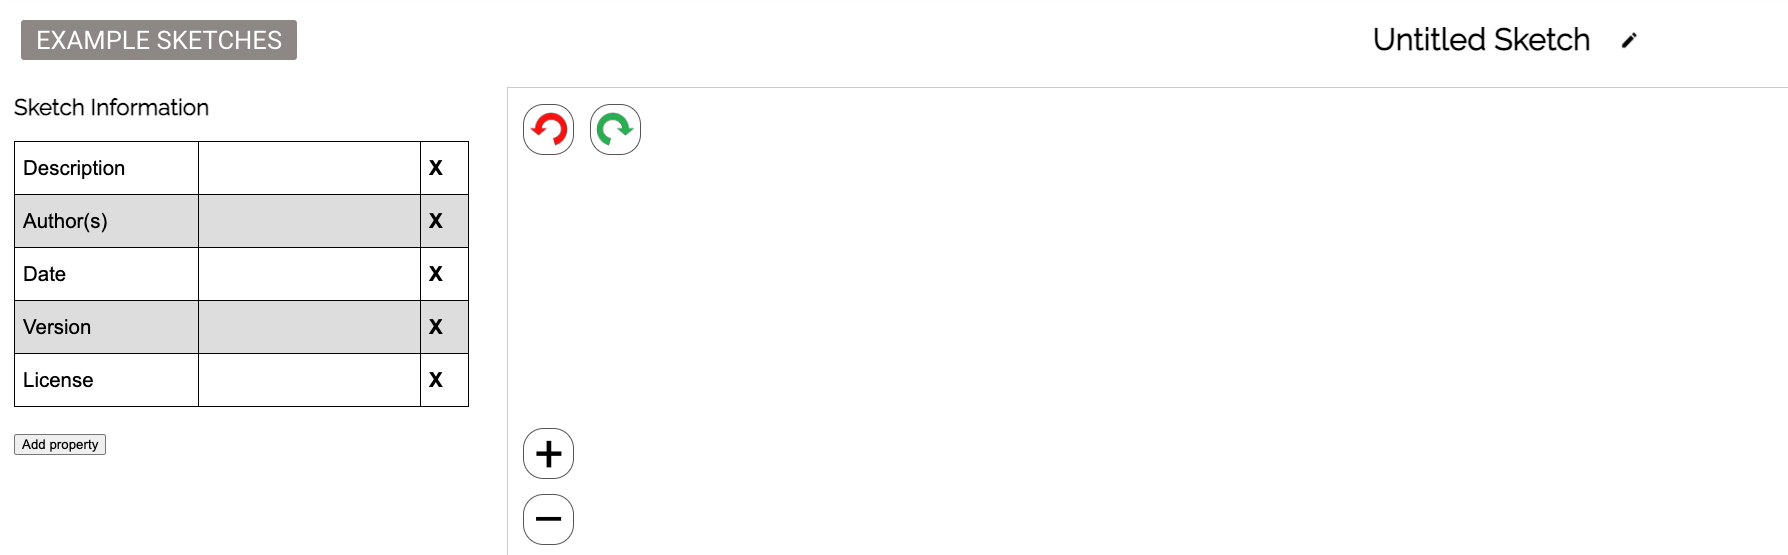
Hover your mouse over the pencil icon and a table will appear on the left of the screen. Any of the properties of the table can be edited or deleted. By clicking on "Add property", a new row will be added in the table.
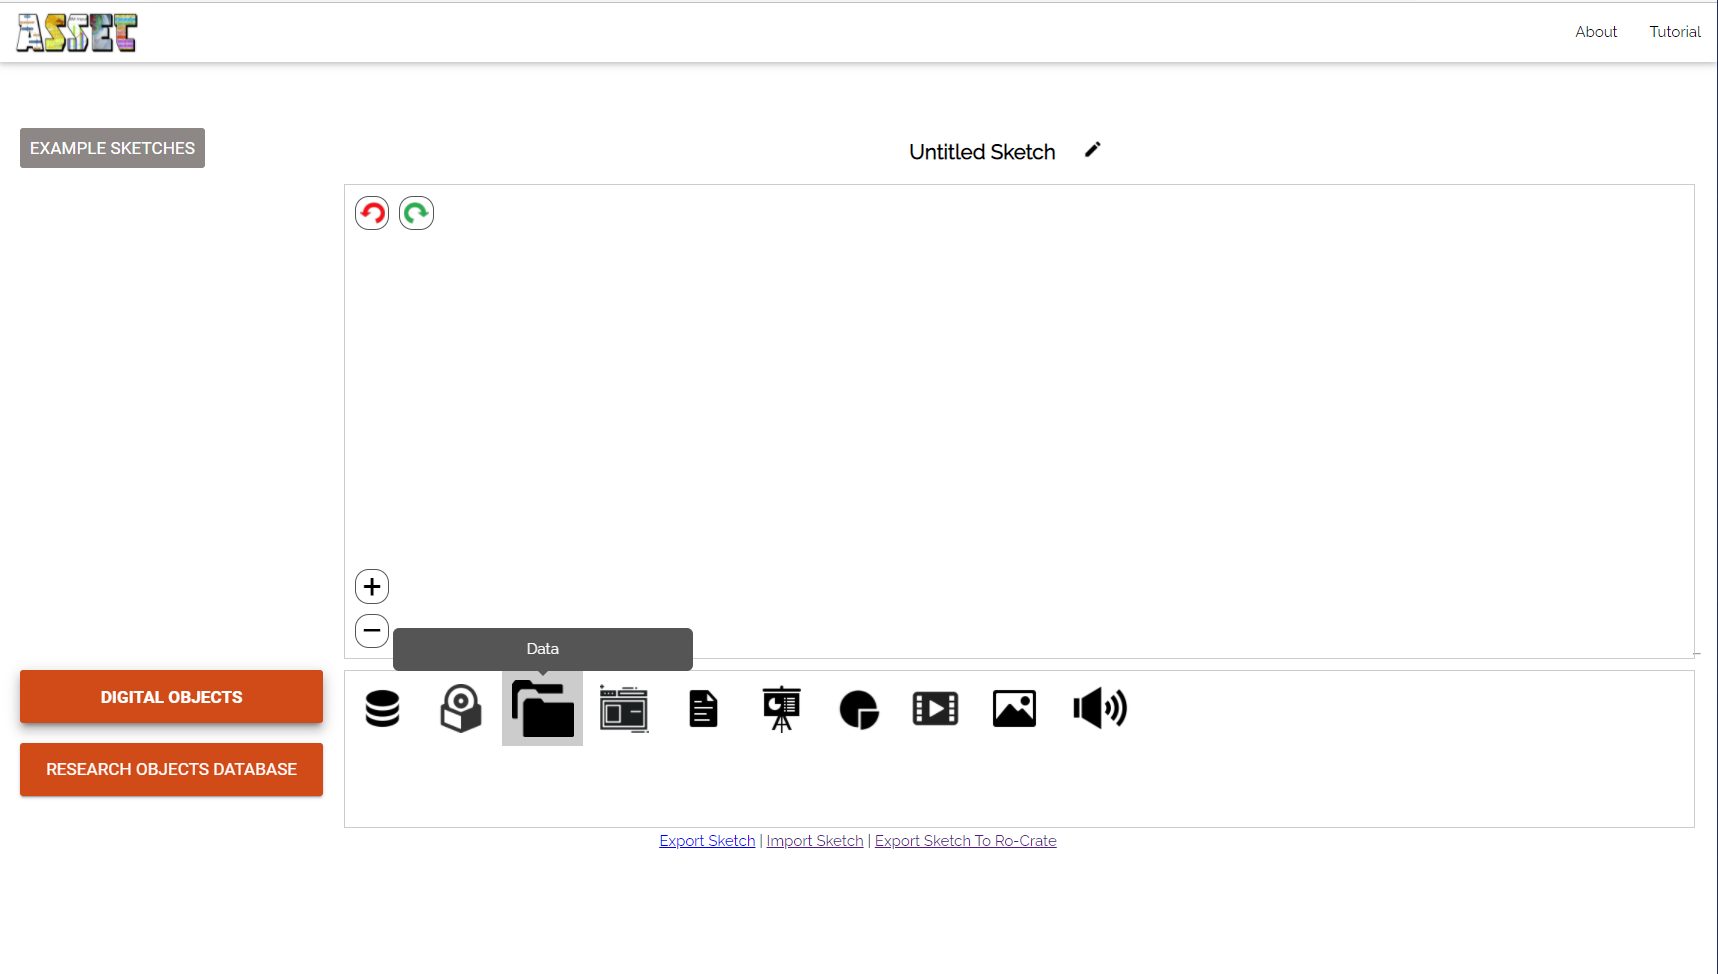
On loading the ASSET sketching interface, at the bottom of the screen, a list of digital objects (corresponding to the "Digital Objects" button) will be loaded in the tools panel adjacent to the buttons. Clicking on the other buttons will load their respective tools in the tools panel.
Hovering over an item in the tools panel will show the item's name.
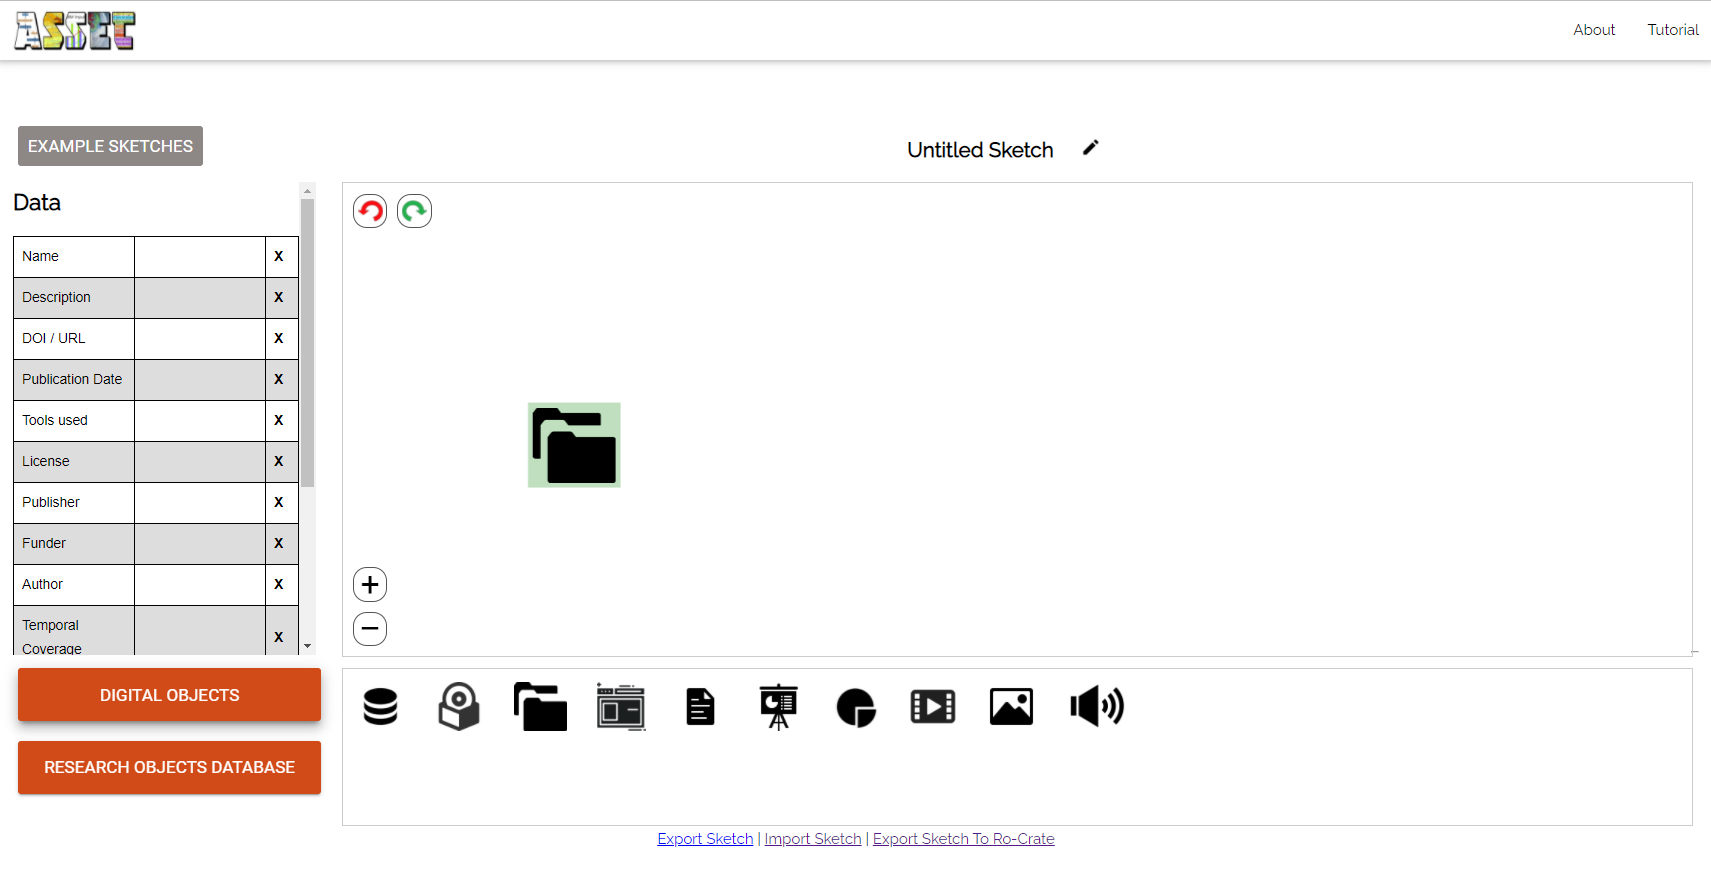
Now just click the desired element and drag it to the canvas:
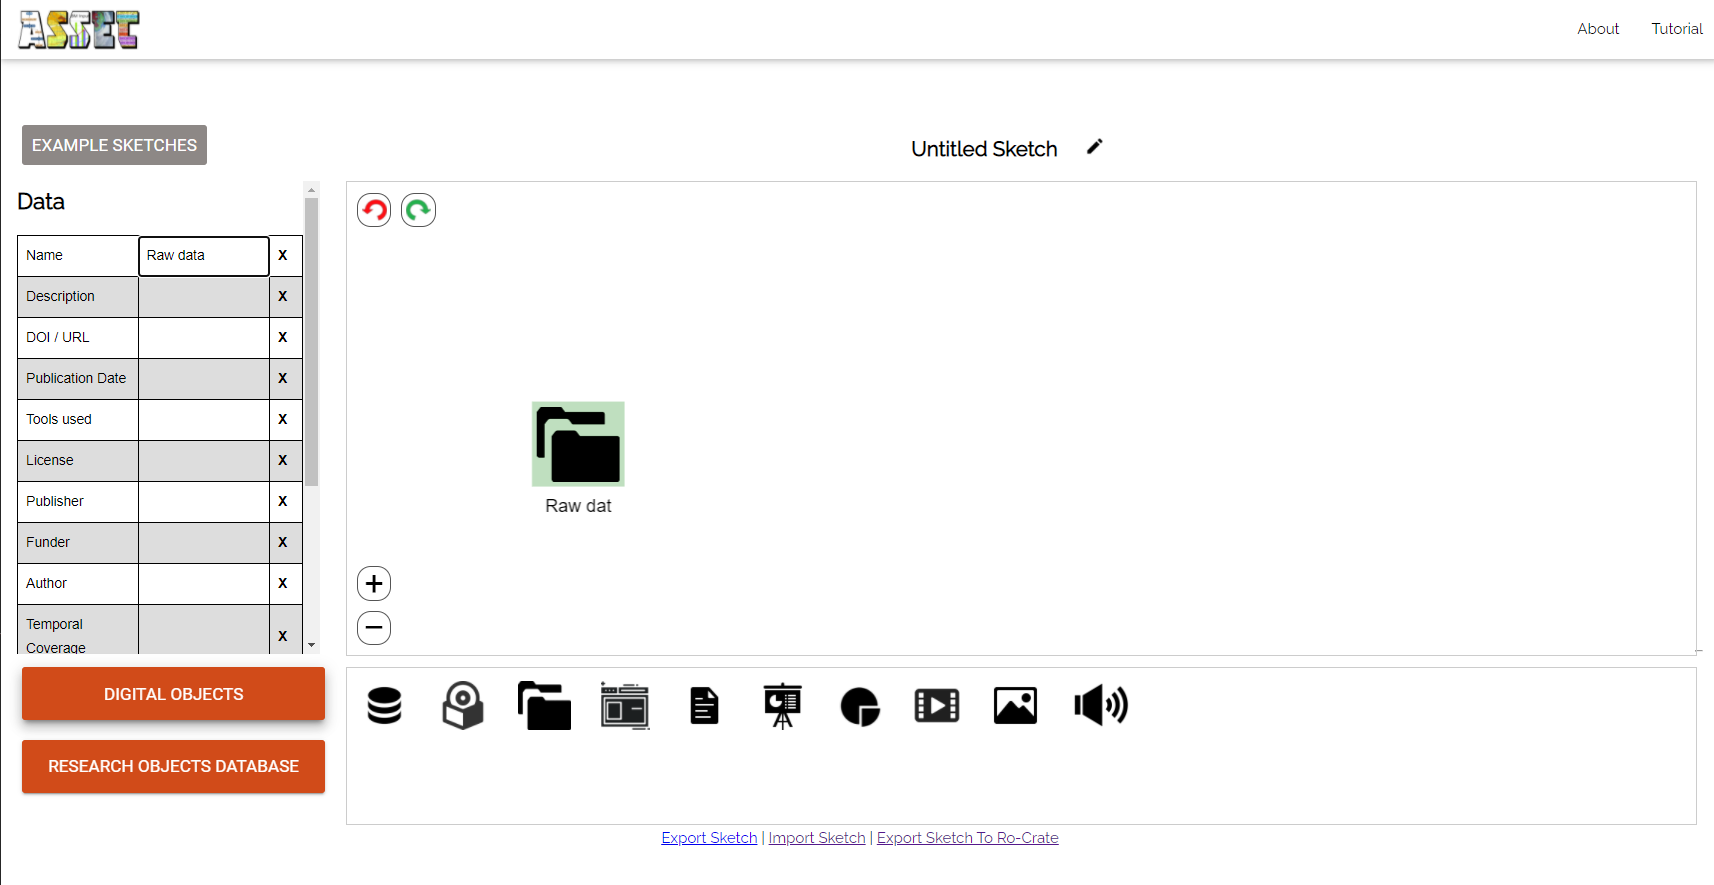
Click on the desired element and a table will appear on the left of the screen. Any of the properties of the table can be edited or deleted. By clicking on "Add property", a new row will be added in the table. The "Name" property will be displayed on the sketch.
Select an element (an arrow or a task in the canvas) and press the "delete" key on your keyboard.
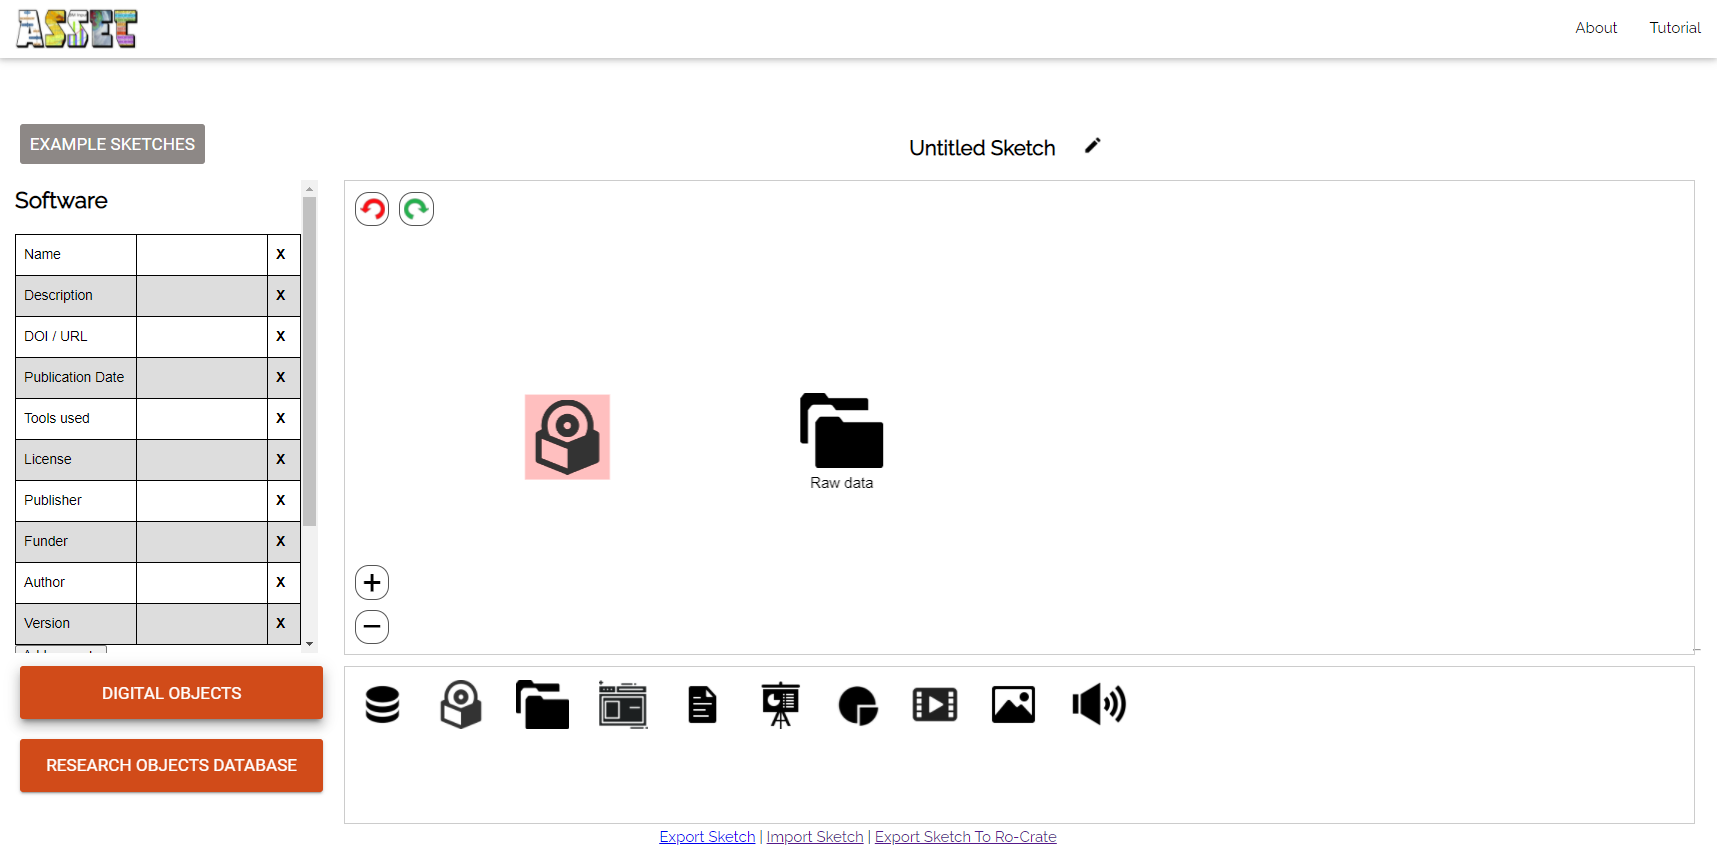
First, add the two elements you which to connect in your canvas. Double click on one of the elements to turn it red.
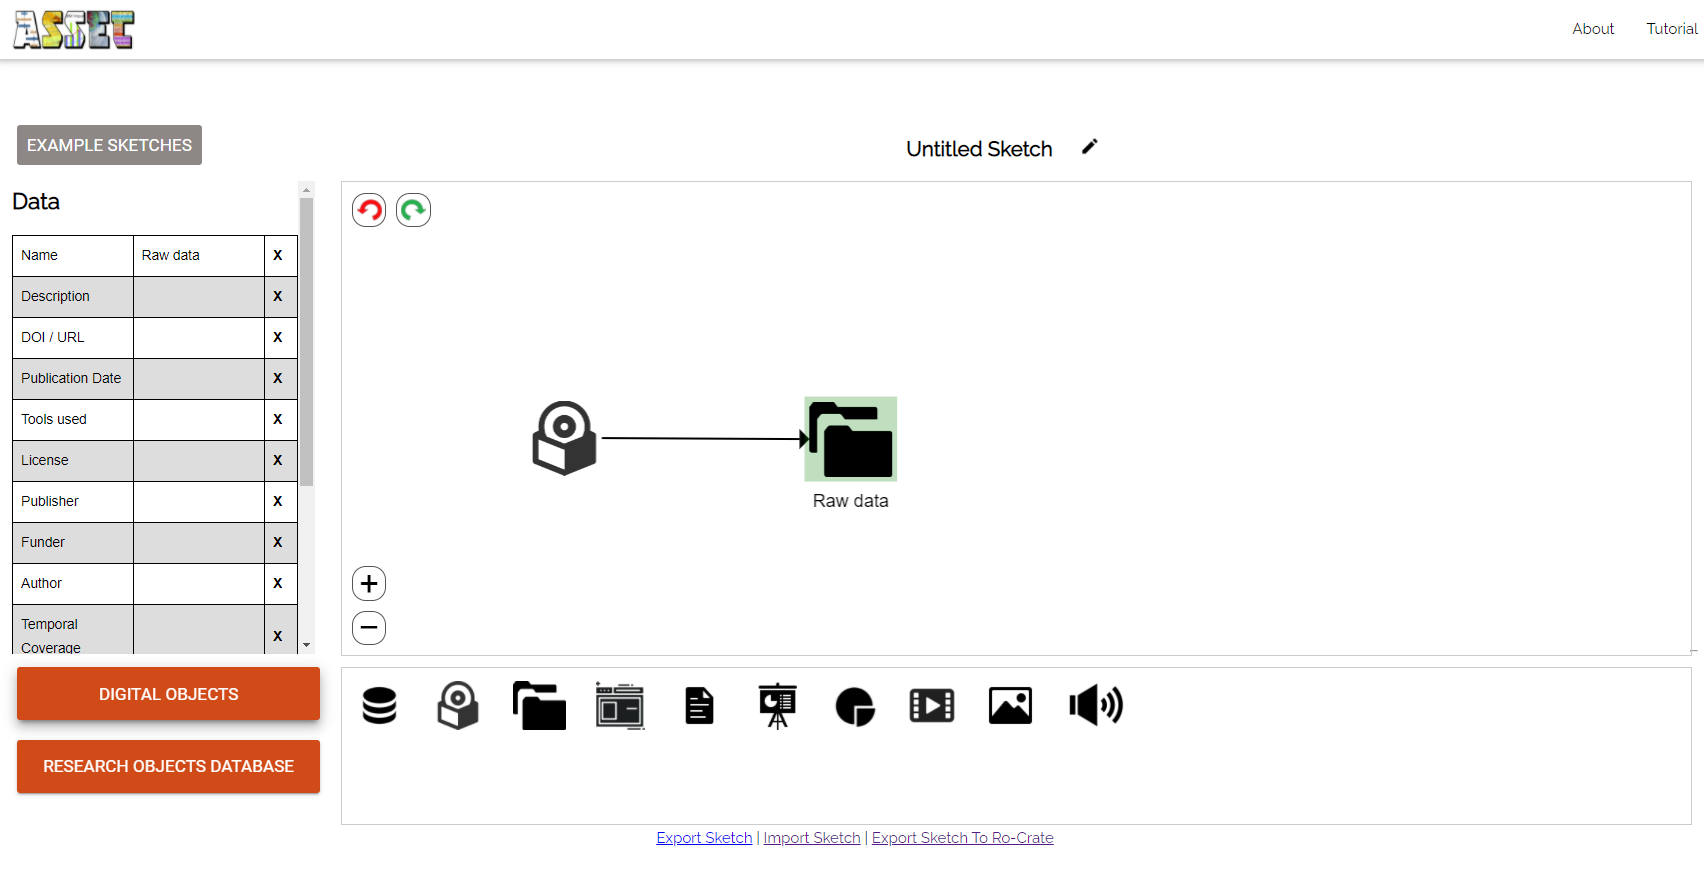
Then click on the target element and an arrow will be drawn:
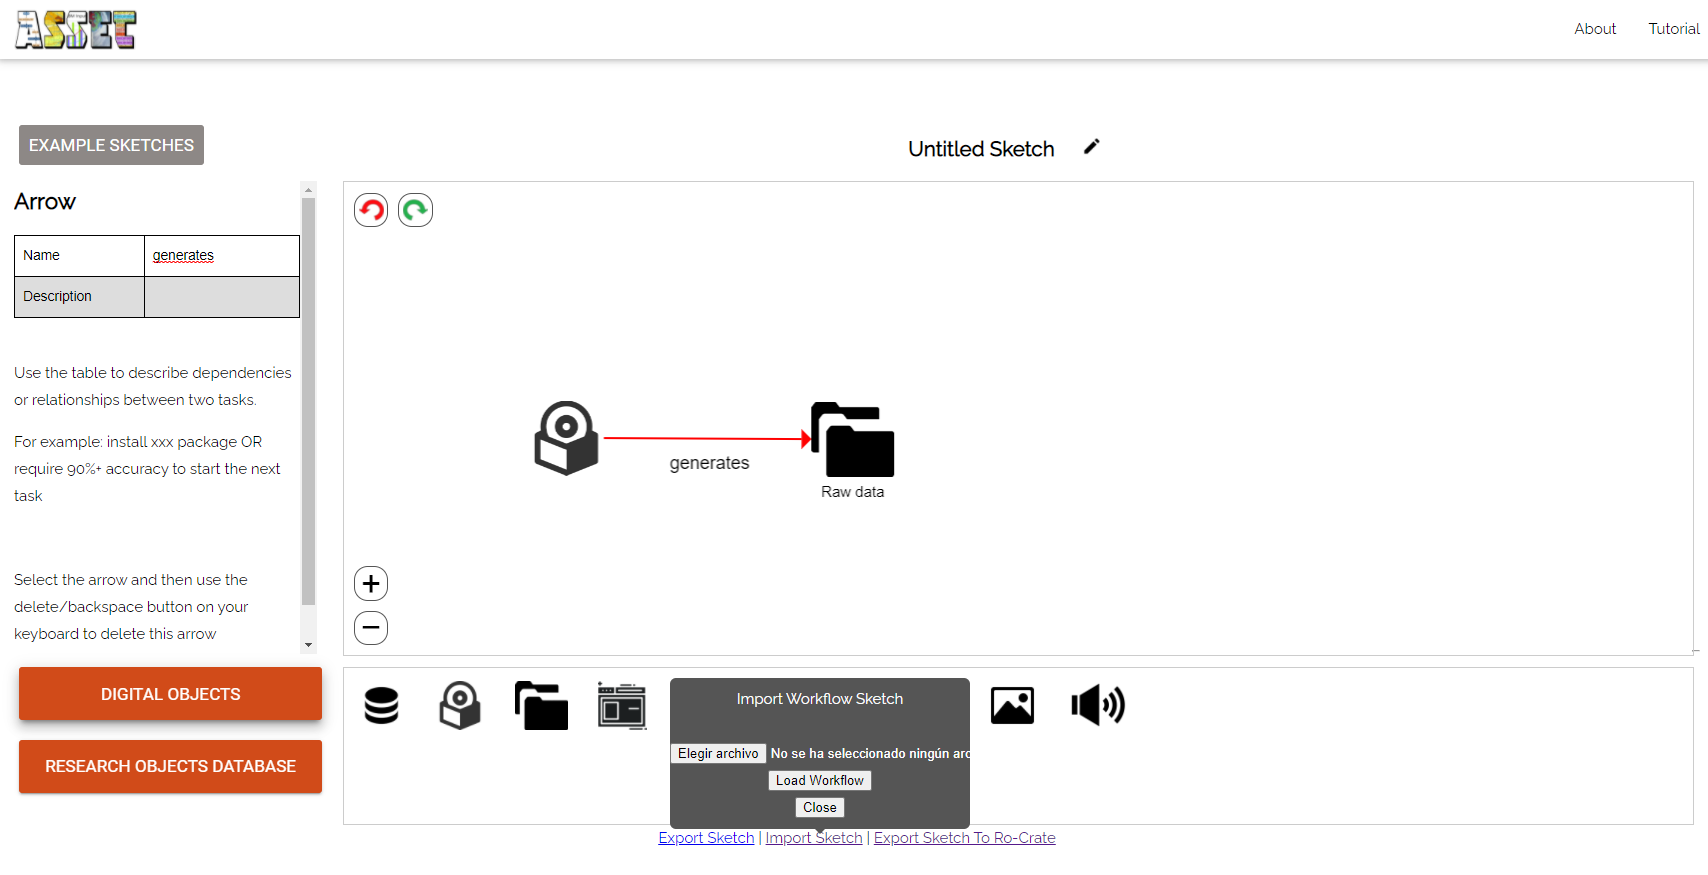
Click on the desired arrow, the arrow will turn red and a table will appear on the left of the screen. You can name and describe the connection/arrow. The "Name" property will be displayed on the sketch.

Select an element (an arrow or a task in the canvas) and press the "delete" key on your keyboard.
Click on the "Export Sketch" link on the lower part of the screen.
Click on the "Import Sketch" link on the lower part of the screen and choose a previously exported sketch from your file system.